Libraries
SimpleITK (sitk)
For image processing.
I/O, 3D rotation, and slicing
 1import SimpleITK as sitk
 2import numpy as np
 3from pathlib import Path
 4
 5# Read in a file
 6reader: sitk.ImageFileReader = sitk.ImageFileReader()
 7reader.SetFileName(str(Path('some') / 'path' / 'to' / '3D image'))
 8mri_3d: sitk.Image = reader.Execute()
 9
10# Get its dimensions
11dimensions: tuple = mri_3d.GetSize()
12
13# 3D rotation setup
14theta_x, theta_y, theta_z = 30, 45, 90
15euler_3d_transform: sitk.Euler3DTransform = sitk.Euler3DTransform()
16euler_3d_transform.SetCenter(mri_3d.TransformContinuousIndexToPhysicalPoint(
17            [((dimension - 1) / 2.0) for dimension in dimensions]))
18euler_3d_transform.SetRotation(theta_x, theta_y, theta_z)
19
20# 3D rotate
21rotated_3d: sitk.Image = sitk.Resample(mri_3d, euler_3d_transform)
22
23# 2D slice
24slice_z = 50
25rotated_slice: sitk.Image = rotated_3d[:, :, slice_z]
26
27# Convert to numpy array
28# NOTE: GetArrayFromImage returns the transpose of the sitk representation!
29slice_np: np.ndarray = sitk.GetArrayFromImage(rotated_slice)
Warning
sitk.GetArrayFromImage() returns the transpose of the sitk representation!
Code involving sitk is scattered throughout our project. Here’s a specific example:
See also
- NeuroRuler.utils.img_helpers.get_curr_rotated_slice() Image[source]
Return 2D rotated slice of the current image determined by global rotation and slice settings.
Sets global_vars.EULER_3D_TRANSFORM’s rotation values but not its center since all loaded images should have the same center.
- Returns:
2D rotated slice
- Return type:
sitk.Image
Filtering
See also
- NeuroRuler.utils.imgproc.contour(img_2d: Image, threshold_filter: ThresholdFilter = ThresholdFilter.Otsu) ndarray[source]
Generate the contour of a 2D slice by applying smoothing, Otsu threshold or binary threshold, hole filling, and island removal (select largest component). Return a binary (0|1) numpy array with only the points within the contour=1.
Calls sitk.GetArrayFromImage() at the end, which will return the transpose of the sitk.Image. Consider whether to re-transpose the result or not.
- Parameters:
img_2d (sitk.Image) –
threshold_filter (ThresholdFilter) – ThresholdFilter.Otsu or ThresholdFilter.Binary. Defaults to ThresholdFilter.Otsu
- Returns:
binary (0|1) numpy array with only the points on the contour = 1
- Return type:
np.ndarray
File formats supported
https://simpleitk.readthedocs.io/en/master/IO.html
You probably won’t have to worry about this since all common image formats are supported, and
sitk.ImageFileReader automatically detects the file extension, so you don’t have to handle it.
Fiji & tutorial notebooks
Not in use anymore.
See https://simpleitk.org/TUTORIAL for setup instructions (installing the external image viewer Fiji
used in some of our old .ipynb files) and a bunch of tutorial Jupyter notebook files, most of which
are too advanced for this project. What’s already in NeuroRuler/ should suffice for this project.
Resources
numpy (np)
For image processing and arc length calculation.
In the SimpleITK (sitk) section, we converted the sitk representation to a np
array.
From here, we do two things: Image visualization and arc length computation.
opencv
For arc length calculation from a np array representing a binary contour.
First, read through Contours: Getting Started (easy to understand) and findContours (full documentation).
See also
- NeuroRuler.utils.imgproc.length_of_contour(binary_contour_slice: ndarray, raise_exception: bool = True) float[source]
Given a 2D binary slice, return the arc length of the parent contour.
cv2.findContourswill find all contours if there is more than one. Most valid brain slices have 2 or 3.The binary slice passed into this function should be processed by
contour()(i.e., hole-filling, island removal, threshold, etc.) to contain just one contour (except in edge cases that we don’t need to worry about) to guarantee an accurate result.This function assumes the contour is a closed curve.
- Parameters:
binary_contour_slice (np.ndarray) – 2D binary (0|1) slice that should be pre-processed by contour() to contain just a single contour.
raise_exception (bool) – Whether or not to raise ComputeCircumferenceOfInvalidSlice. Defaults to True and should be False only for unit testing purposes.
- Raises:
exceptions.ComputeCircumferenceOfInvalidSlice – If >= constants.NUM_CONTOURS_IN_INVALID_SLICE contours are detected.
- Returns:
Arc length of parent contour
- Return type:
float
PyQt6
For GUI. Serves the purpose of View and Controller. Drag-and-drop GUI design using QtDesigner.
Easy styling with .qss stylesheets and resource (icon) management with .qrc files, both of
which are even more easily managed using BreezeStyleSheets.
According to Eric, it’s pronounced “pie-cute” (we all say “pie-cue-tee” though).
QtDesigner
For drag-and-drop GUI design. Generates .ui files (pretty much XML)
that are then loaded into Python code.
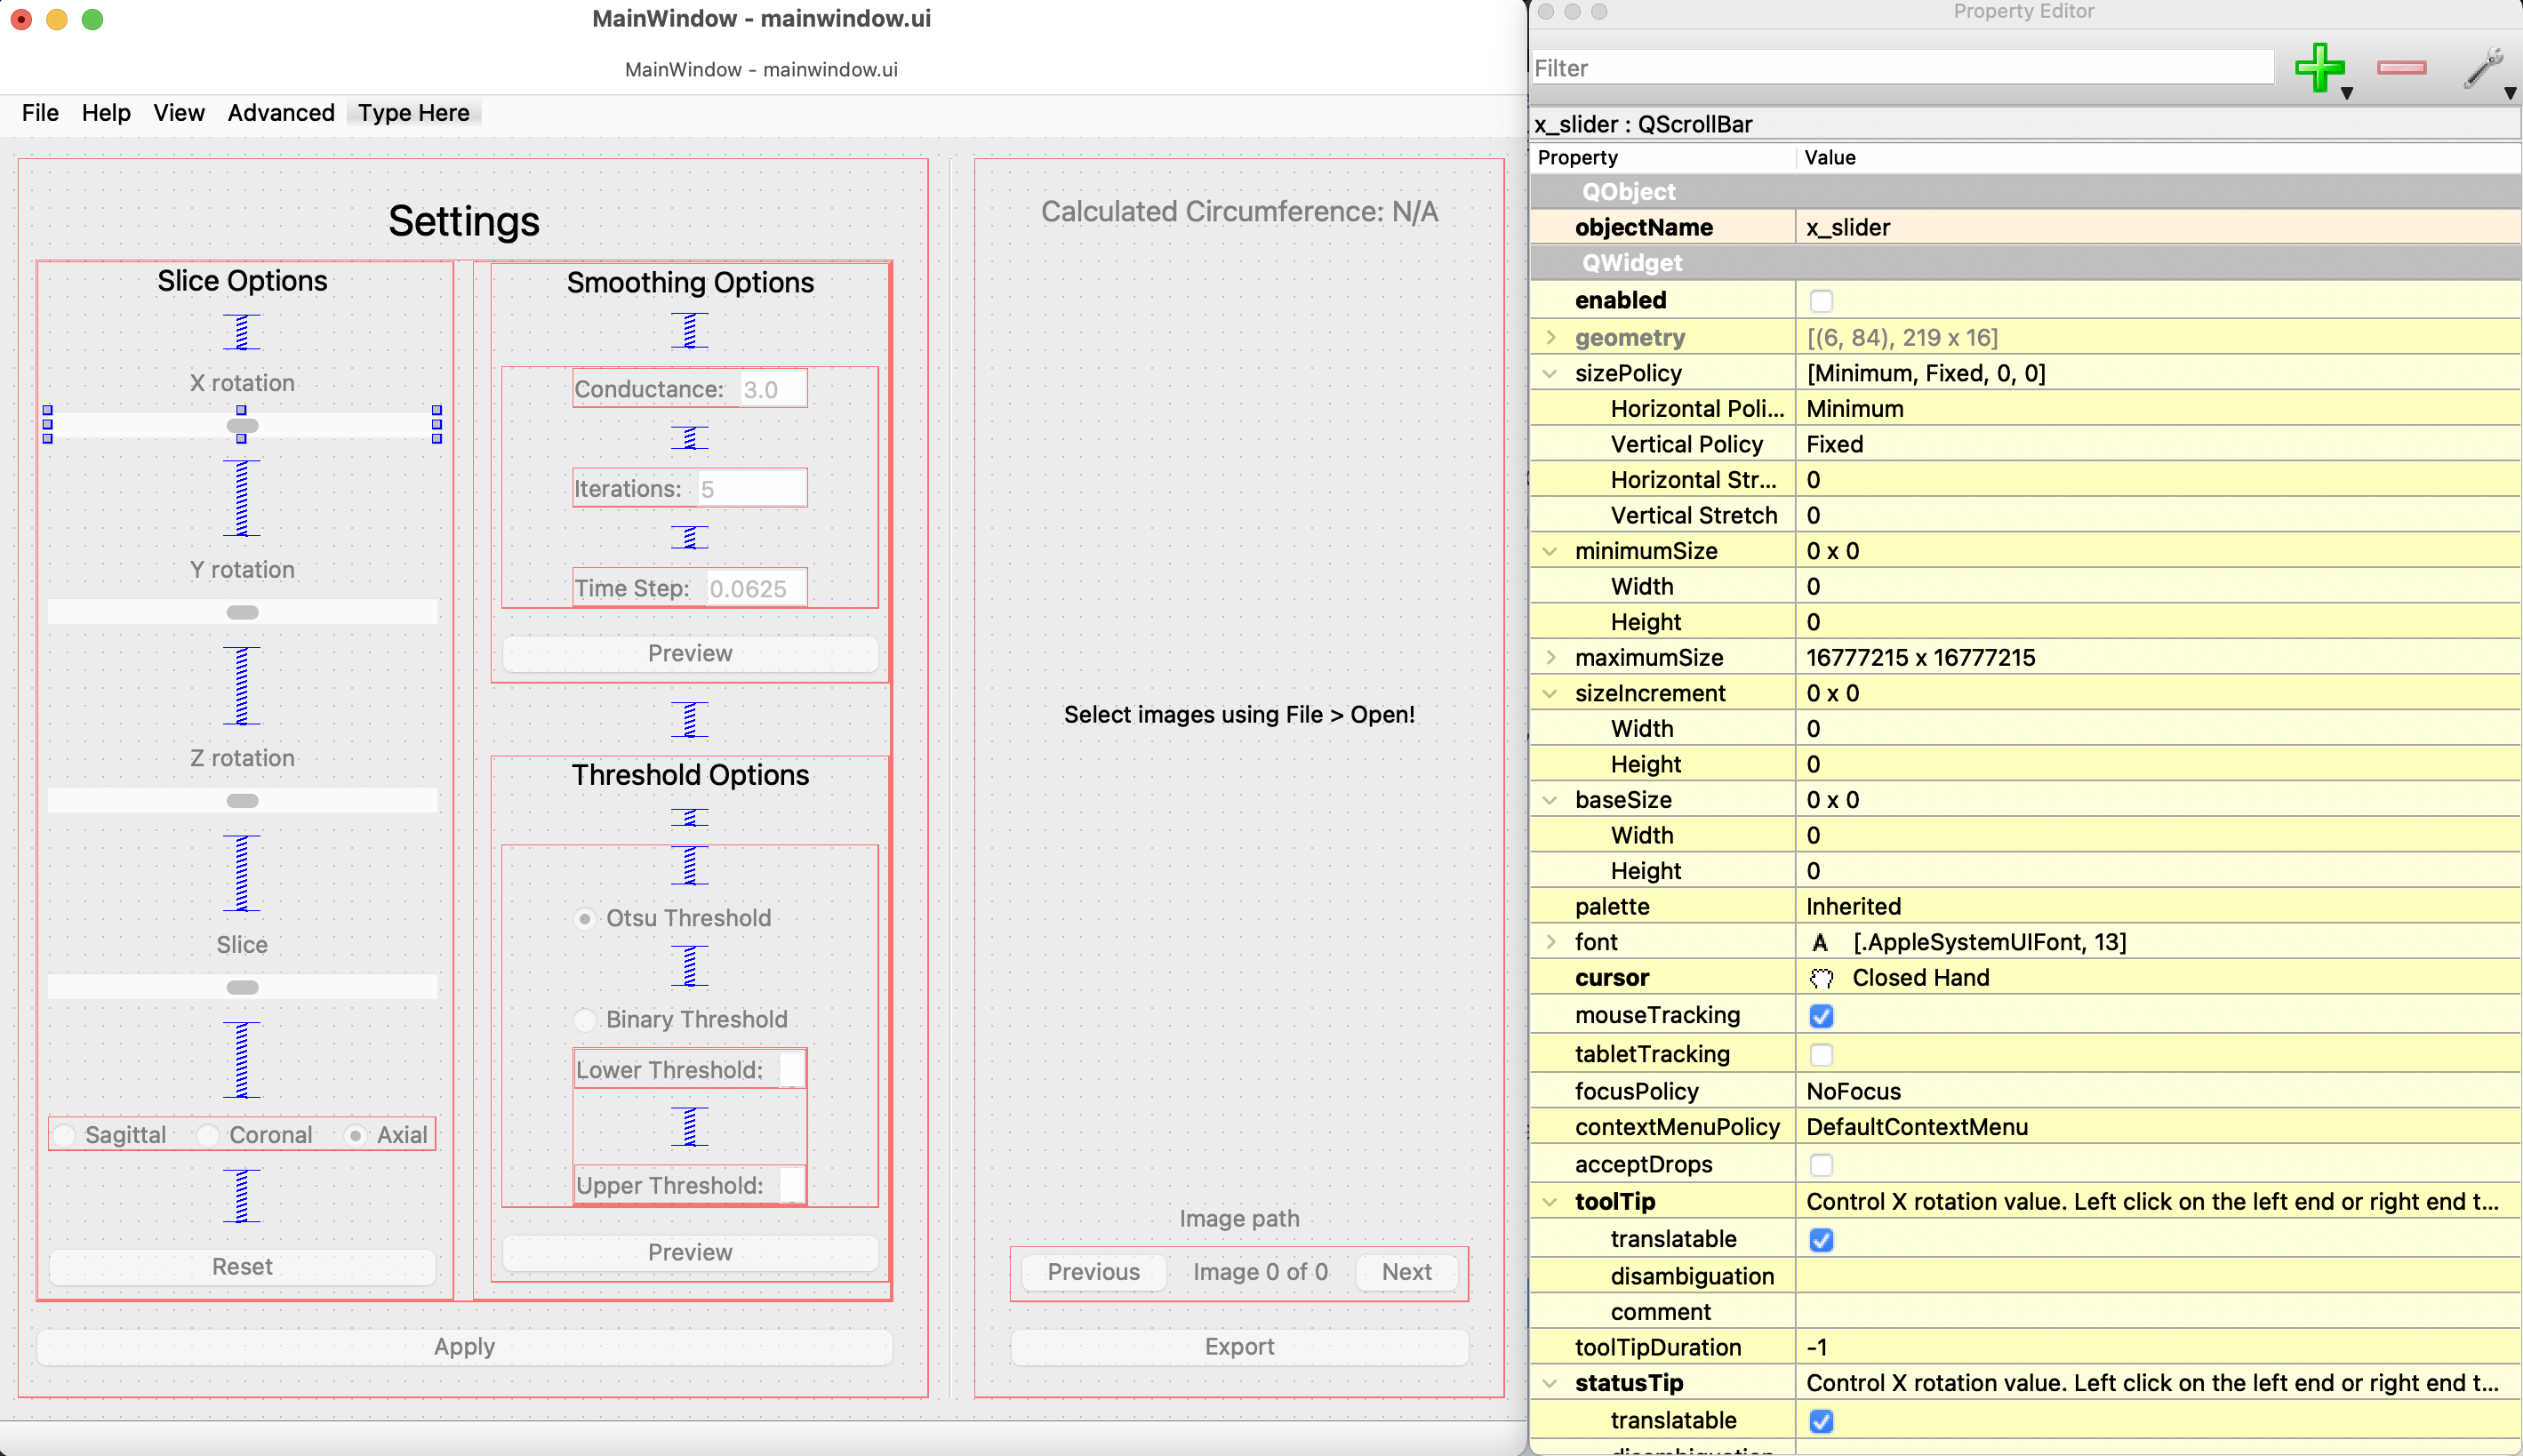
Install it. In QtDesigner, open mainwindow.ui. You’ll get the idea.
Controller stuff
There isn’t a Controller class. Controller stuff is done in NeuroRuler/GUI/main.py.
QtDesigner lets you assign names to elements. Then these variables are accessible from code.
See also
How to connect GUI events (signals) to functions
- NeuroRuler.GUI.main.MainWindow.__init__(self)
Load main file and connect GUI events to methods/functions.
Sets window title and icon.
Note
Use lambda functions to pass arguments.
Layout
Laying out elements in horizontal and vertical layouts allows the GUI elements to resize themselves when the user resizes the window.
If you’re making a new window, right click outside any element in QtDesigner and click Layout. This will allow you to lay out all elements.
Image visualization
See also
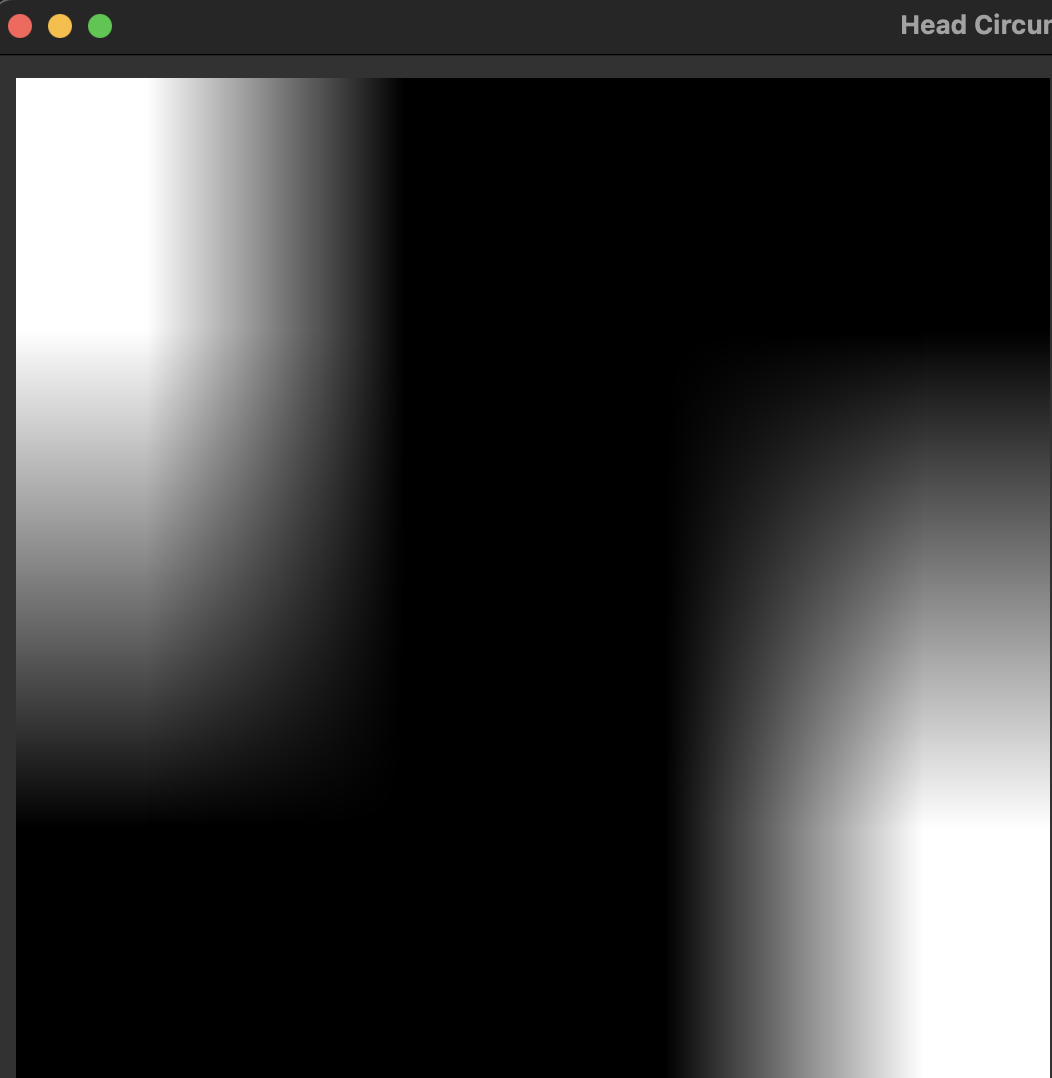
- NeuroRuler.GUI.main.MainWindow.render_curr_slice(self) ndarray | None
Resamples the currently selected image using its rotation and slice settings, then renders the resulting slice (scaled to the size of self.image) in the GUI.
DOES NOT set text for
image_num_labeland file path labels.If
not SETTINGS_VIEW_ENABLED, also callsimgproc.contour()and outlines the contour of the QImage (mutating it).Additionally, also returns a view of the binary contoured slice if
not SETTINGS_VIEW_ENABLED. This saves work when computing circumference.- Returns:
np.ndarray if
not SETTINGS_VIEW_ENABLEDelse None- Return type:
np.ndarray or None
QRC file
Used to manage resources (application icons in .svg, .png, etc. formats).
See this short YouTube video about QRC files.
BreezeStyleSheets generates QRC files and compiled Python resource files that we can use. That section of this page is very closely related. Read that next if you’re working on styling the GUI.
See also
How to access a resource
- NeuroRuler.GUI.helpers.ErrorMessageBox.__init__(self, message: str)
- Parameters:
message (str) – Error message
There’s also PyQt documentation about how to access resources once imported.
Resources
He exports Python code from QtDesigner and edits the raw Python code, which I think is a terrible approach. It’s better to load the
.uifiles from within Python. But the videos are otherwise great.
This link is “qtforpython-6”. It references
PySide6, but mostly everything is the same, as mentioned below. If you Google a keyword, you might get a result on the “qtforpython-5” site. There are some small (mostly naming) differences, so make sure you’re on the the correct site.
Alternatives
No major differences between PyQt5 and PyQt6.
Also no major differences between PySide6 and PyQt6. PySide6 is more official than PyQt6, and official documentation always references PySide6.
Mostly everything in PySide6 and PyQt6 is exactly the same, but there are some annoying differences.
When we had multiple windows, switching to PySide6 broke window switching, and I couldn’t figure it out.
There are minor naming differences, such as QImage.Format.Format_Grayscale16 (PyQt6) vs. QImage.Format_Grayscale16 (PySide6).
Loading a
.uifile is different.
Warning
Note QImage and numpy (np) treat width and height differently!
qimage2ndarray helps us avoid this problem, but just FYI.
 1import numpy as np
 2from PyQt6.QtGui import QPixmap, QImage
 3from PyQt6.QtWidgets import QMainWindow
 4
 5class MainWindow(QMainWindow):
 6    def __init__(self):
 7        pass
 8
 9    def test(self):
10        slice_np: np.ndarray = np.array([[65535, 0, 0, 0],
11                                         [0, 0, 0, 65535]], dtype='uint16')
12        # Note reversed ordering
13        q_img: QImage = QImage(slice_np.data, slice_np.shape[1], slice_np.shape[0],
14                              QImage.Format.Format_Grayscale16)
15        self.image.setPixmap(QPixmap(q_img))
16
17    # Rest of the code omitted
qimage2ndarray
For Image visualization in PyQt GUI.
Specifically, qimage2ndarray converts a np array to a QImage that can be displayed in a PyQt GUI,
as the name implies. This circumvents difficulties [5] with converting np array to QImage.
GitHub and Documentation (very brief).
See also
- NeuroRuler.GUI.main.MainWindow.render_curr_slice(self) ndarray | None
Resamples the currently selected image using its rotation and slice settings, then renders the resulting slice (scaled to the size of self.image) in the GUI.
DOES NOT set text for
image_num_labeland file path labels.If
not SETTINGS_VIEW_ENABLED, also callsimgproc.contour()and outlines the contour of the QImage (mutating it).Additionally, also returns a view of the binary contoured slice if
not SETTINGS_VIEW_ENABLED. This saves work when computing circumference.- Returns:
np.ndarray if
not SETTINGS_VIEW_ENABLEDelse None- Return type:
np.ndarray or None
Warning
In NeuroRuler/GUI/main.py, if import qimage2ndarray goes before the PyQt imports (which an
autoformatter might do), there will be a ModuleNotFoundError.
BreezeStyleSheets
Used to generate our GUI’s .qss stylesheets and corresponding resources.py files.
We have a custom fork with a script (nr.py) that automates the process.
How it works
Read the brief README in our BSS fork.
Then see the nr.py script, which automates everything below.
In a nutshell, we edit a JSON file with hex color codes (the JSON controls only the colors of elements)
and compile the JSON to a .qss stylesheet that we import in
our project. BSS also generates a QRC resource file
for managing resources (icons), which is then converted to a compiled resources.py file
that’s also imported in our project. Lastly, the JSON file is copied over to our project, though we
parse only the main color from the "highlight" field for now.
Though it probably won’t be necessary, you can also skim the README in the BreezeStyleSheets repo for more information.
Installation instructions
Clone our fork of the repo.
Run
pip install PyQt5.
Note
PyQt5 is necessary for BSS because it uses pyrcc5 to compile QRC files.
If you successfully installed PyQt5, then move on to Configuration instructions.
Otherwise, see these instructions. [1] Pretty sure the PyQt5 installation is bugged on macOS but not Windows.
Configuration instructions
See the instructions in our BSS fork’s brief README.
Accessing resources
See QRC file for an example of how to access a resource from within code.
Since we’re using compiled resource.py files, we don’t have the .svg files in our NR repo.
Check the BreezeStyleSheets repo for resource names.
pathlib
For maintaining cross-platformness when working with paths, easy iteration, globbing, etc.
Specifically, Posix paths look like Users/jesse/Documents/GitHub/...,
whereas Windows paths look like C:\idk\how\Windows\works\....
Always build up a Path using the Path capabilities (/ operator).
Then when a str is needed, apply str() to convert at the end.
See the documentation for example code. Also see this code from NeuroRuler/utils/global_vars.py.
 1THEME_DIR: Path = Path("NeuroRuler") / "GUI" / "themes"
 2"""themes/ directory where .qss stylesheets and resources.py files are stored."""
 3THEMES: list[str] = []
 4"""List of themes, i.e. the names of the directories in THEME_DIR."""
 5if THEME_DIR.exists():
 6    for path in THEME_DIR.iterdir():
 7        if path.is_dir():
 8            THEMES.append(path.name)
 9    THEMES = sorted(THEMES)
10# Without this, autodocumentation crashes
11else:
12    pass
argparse
For parsing CLI arguments.
Virtual environment
This isn’t a library, but it’s worth noting. See the virtual environment documentation. [4]
python-black
This autoformatter is awesome 😳
This is run automatically before each commit (see .pre-commit-config.yaml) with some excluded files. To run manually, run
black .
Note
The rest of these aren’t too important.
matplotlib, ipywidgets
We used these to render interactive sitk images in Jupyter notebooks, but this isn’t necessary anymore.
pytest
For unit testing.
All unit tests run automatically on push and PR using tox, which runs all tests on several Python versions.
This is handled in the tests.yml file.
warnings, functools
Allow us to mark functions @deprecated.
sphinx, setuptools
For automatically generating these documentation pages.
Note
This website is automatically updated on push to NR’s main branch, so you don’t need to follow these steps unless you’re making a change to a webpage and want to be able to build the website locally to review changes before pushing.
Read the Docs tutorial (some steps caused deployment errors 💀) and YouTube video about Sphinx.
Build docs site locally
Your current working directory should be .../NeuroRuler, and
you should have already installed dependencies via pip.
cd docs
make html
docs/_build/html/ will now contain the local version of the documentation pages.
Note
docs/_build is gitignored.
You can open docs/_build/html/index.html in a web browser #[macos_open_html]_ to check out the site before pushing, which
will automatically update the
website. From now on, you can just run make html to update the html pages.
However, you may need to run sphinx-apidoc -o . ../NeuroRuler from the docs/ directory
if a new package is created. Make sure __init__.py files exist for any package you want
to be discovered.
You can edit docs/index.rst, which is the homepage, or docs/libraries.rst, which is this page. Documentation for source code is automatically generated.
Steps for building from scratch
Note
This does not have to be done for the NR repo since setup is already complete. It’s mostly here for my reference since there’s not a lot of information about this process online and I’d forget how to do it.
Your current working directory should be whatever repo you want to automatically generate documentation for.
1pip install sphinx
2pip install python-docs-theme
3mkdir docs
4cd docs
5sphinx-quickstart
Type n for the first question, which asks about splitting source and build directories. [2]
Copy over docs/conf.py (install another theme with pip and modify html_theme if you want),
docs/requirements.txt, .readthedocs.yaml, pyproject.toml, and setup.py from the
NR repo,
overwriting if necessary. Modify the info inside for your purposes.
The root requirements.txt and requirements_CI.txt might also need to include
setuptools, but I’m not certain.
Make sure NeuroRuler/__init__.py exists, along with .../__init__.py files for any package that
you want to auto-generate documentation for.
Note
Current working directory should still be docs/
1sphinx-apidoc -o . ../NeuroRuler       # Generate files from ../NeuroRuler and put in . (docs/)
2make html
docs/_build/html/index.html will now contain the local version of the documentation pages.
You can open it in a web browser [3] to check it out before pushing, which will automatically update the
website. From now on, you can just run make html to update the html pages. You don’t need to run
sphinx-apidoc unless you create a new package.
You can edit docs/index.rst, which is the homepage, or docs/libraries.rst, which is this page. Documentation for source code is automatically generated.
Now follow the Read the Docs tutorial starting from Sign up for Read the Docs. You can end at Checking the first build. To set up CDD (continuous documentation deployment), check Permissions for connected accounts and follow the Provider-specific instructions steps.
RST formatting
See the source code for this page and https://thomas-cokelaer.info/tutorials/sphinx/rest_syntax.html.
Resources
YouTube video about Sphinx where I got a lot of these steps from.
importlib
For importing modules using strings.
Specifically, import statements depend on NeuroRuler.utils.user_settings.THEME_NAME.
For example, in NeuroRuler.GUI.main(), if THEME_NAME is 'dark', then
the resources import statement would be
import NeuroRuler.GUI.styles.dark.resources
However, if THEME_NAME is 'light', then the import statement would be
import NeuroRuler.GUI.styles.light.resources
Therefore, we use importlib to control the import name there. [6]
pre-commit
Configures pre-commit git hook.
Modify .pre-commit-config.yaml
to configure. Then run pre-commit install.
More instructions here.
Warning
Don’t name any source code files any of the excluded names in .pre-commit-config.yaml.
Those files are excluded from auto-formatting because they’re they’re automatically generated.
Footnotes
pip3 install pyqt5 --config-settings --confirm-license= --verbose